디자이너와 협업하면 준 UI를 그대로 구현해야 할 때가 있습니다. 예전에 어플 개발을 할 때 디자이너님께 받은 UI에 버튼 둥글게 + 그라데이션이 들어가 있어서 당황한 기억이 납니다. 처음에는 ai파일에서 이미지를 따서 png 파일로 넣었는데, 깔끔하지 않아서 삽질 끝에 xml파일로 구현을 했었습니다.
이번 포스팅에서 xml파일로 버튼 모서리를 둥글게 + 그라데이션 효과를 넣는 방법을 정리해봤습니다.
1. 모서리 둥글게 만들기
drawable 폴더에 새로운 xml 파일을 생성합니다. 저는 button_background 이라는 이름으로 생성했습니다.
그리고 아래의 코드를 복붙합니다. 저는 위아래 좌우 모든 모서리에 radius를 줬습니다.
<?xml version="1.0" encoding="UTF-8"?>
<shape xmlns:android="http://schemas.android.com/apk/res/android">
    <solid android:color="#dddddd"/>
    <corners android:bottomLeftRadius="30dp"
        android:bottomRightRadius="30dp"
        android:topLeftRadius="30dp"
        android:topRightRadius="30dp"/>
    <padding android:left="0dip" android:top="0dip" android:right="0dip" android:bottom="0dip" />
</shape>
그리고 button에 android:background="@drawable/button_background"를 추가합니다.
아래 코드를 참고해주세요.
<?xml version="1.0" encoding="utf-8"?>
<androidx.constraintlayout.widget.ConstraintLayout
	xmlns:android="http://schemas.android.com/apk/res/android"
    xmlns:app="http://schemas.android.com/apk/res-auto"
    xmlns:tools="http://schemas.android.com/tools"
    android:layout_width="match_parent"
    android:layout_height="match_parent"
    tools:context=".MainActivity">

    <Button
        android:id="@+id/button"
        android:layout_width="wrap_content"
        android:layout_height="wrap_content"
        android:text="Hello World!"
        android:paddingRight="20dp"
        android:paddingLeft="20dp"
        android:background="@drawable/button_background"
        app:layout_constraintBottom_toBottomOf="parent"
        app:layout_constraintLeft_toLeftOf="parent"
        app:layout_constraintRight_toRightOf="parent"
        app:layout_constraintTop_toTopOf="parent" />

</androidx.constraintlayout.widget.ConstraintLayout>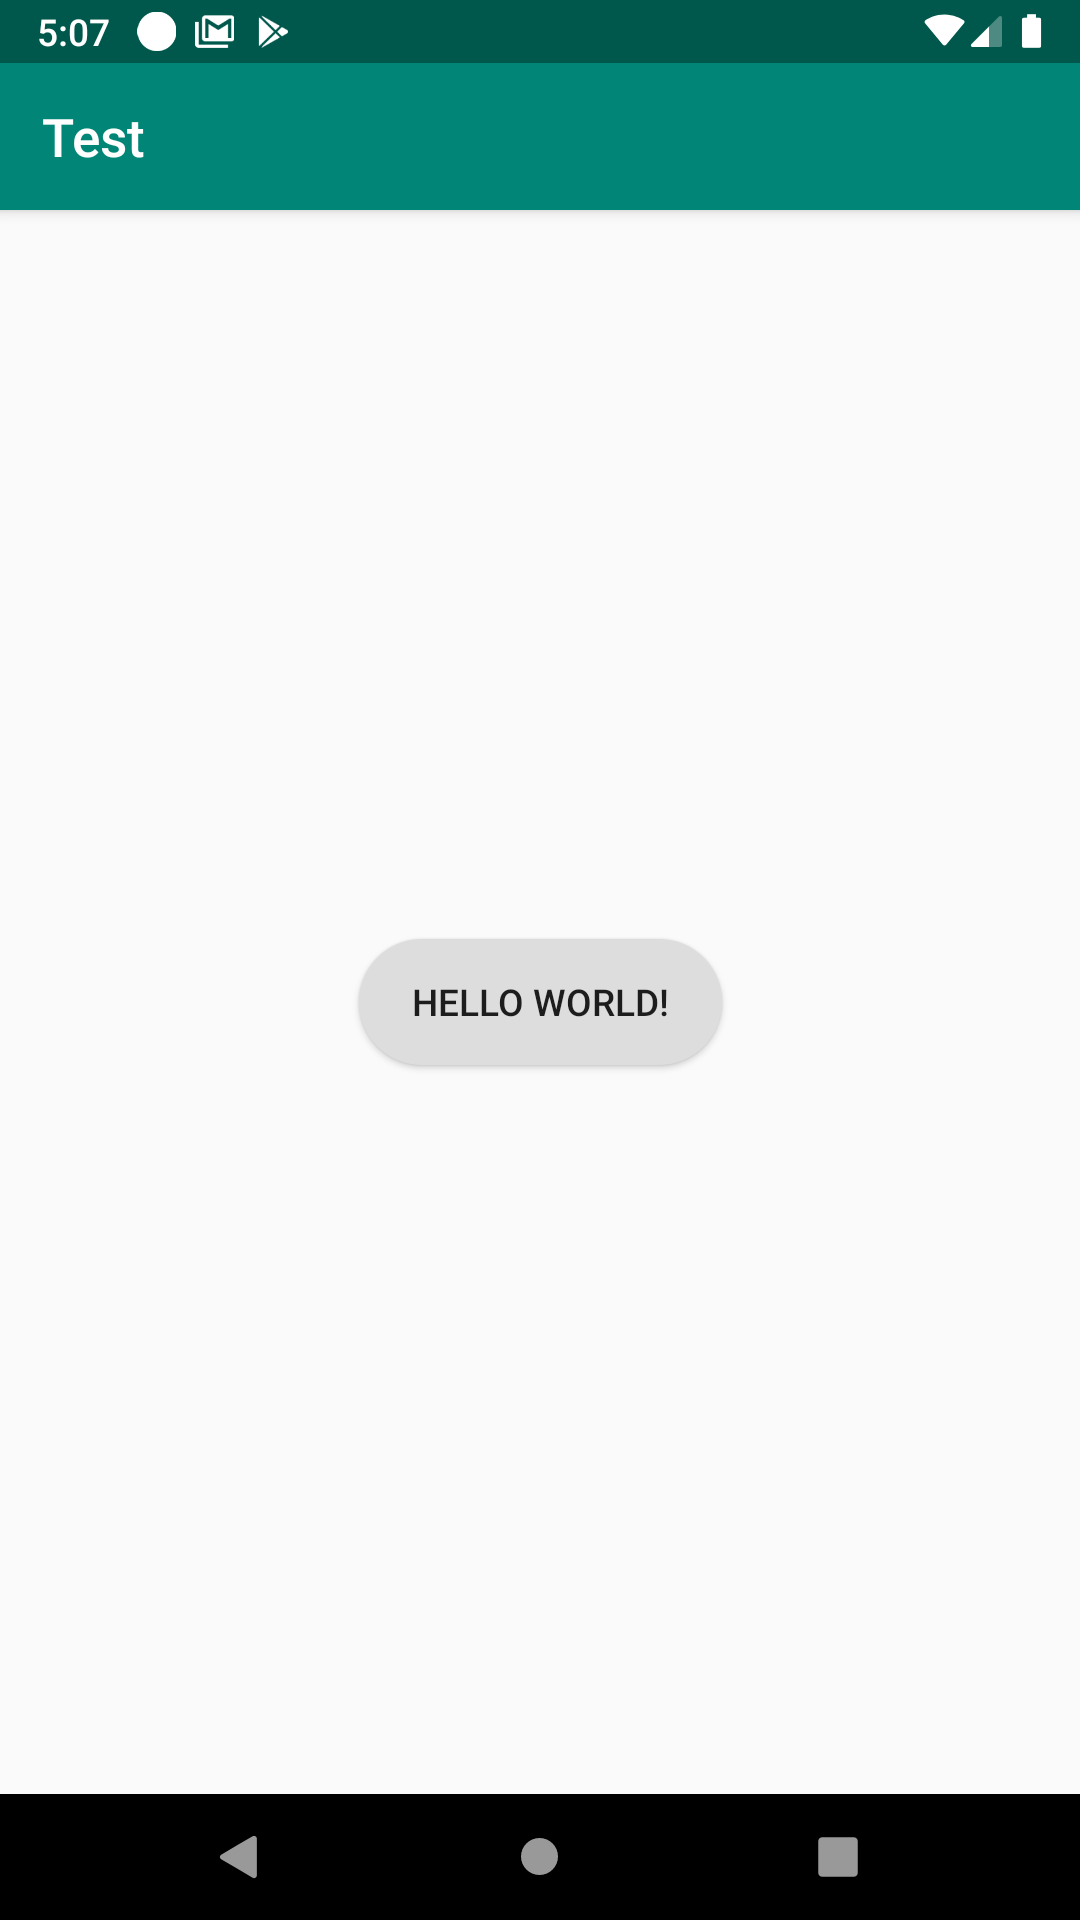
버튼의 모서리가 둥글어진걸 확인할 수 있습니다.
2. 그라데이션 효과
위 button_background.xml 파일에서 android:color를 빼고, gradient 요소를 추가합니다.
코드는 다음과 같습니다.
<?xml version="1.0" encoding="UTF-8"?>
<shape xmlns:android="http://schemas.android.com/apk/res/android">
    <!--<solid android:color="#dddddd"/>-->
    <gradient
        android:angle="0"
        android:startColor="#FD8569"
        android:endColor="#FD699C"
        android:type="linear" />
    <corners android:bottomLeftRadius="30dp"
        android:bottomRightRadius="30dp"
        android:topLeftRadius="30dp"
        android:topRightRadius="30dp"/>
    <padding android:left="0dip" android:top="0dip" android:right="0dip" android:bottom="0dip" />
</shape>

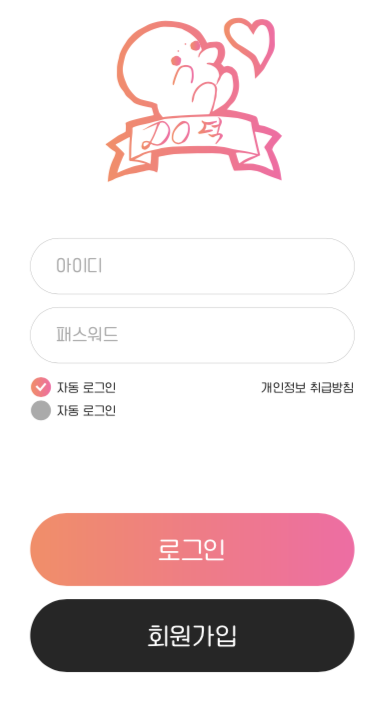
그라데이션이 적용되었습니다.
gradient에서는 centerColor 정보도 추가할 수 있고, angle도 변경할 수 있습니다.

디자이너와 협업하고 있다면, UI를 디자인 하신 분께 정확하게 그라데이션 효과 정보를 받거나 ai파일이라면 일러스트를 공부해서 그라데이션 효과가 어떻게 들어간건지 찾으면 되겠습니다.
잘못된 내용이 있다면 언제든지 댓글이나 메일로 알려주시면 감사하겠습니다.
이 포스팅이 도움이 되었다면 공감 부탁드립니다.
궁금한 점은 언제든지 댓글 남겨주시면 답변해드리겠습니다:D
'major > Android' 카테고리의 다른 글
| 16진수 번역기 개인정보처리방침 (0) | 2020.09.19 |
|---|---|
| [Android] 배경음악 재생하기 (4) | 2020.04.12 |
| 구글 플레이 앱 업데이트, 버그 수정, 삽질기 (0) | 2020.03.30 |
| [Android] 갤러리 이미지 URI를 SQLite에 저장하고 불러오기 (7) | 2020.03.30 |
| [Kotlin] SQLite 사용법 정리 (1) | 2020.03.27 |

